It is nowadays very common that websites are using WAF solutions to protect it’s content against hackers. Vulnerable components are not unusual especially if you’re using WordPress like I do. Fortinet has a produkt called “FortiWeb Cloud”. It is straight forward to use and can be purchased by signing up to the service on AWS. More information can be found here.
After signing up, you can onboard an application (website) in five easy steps:
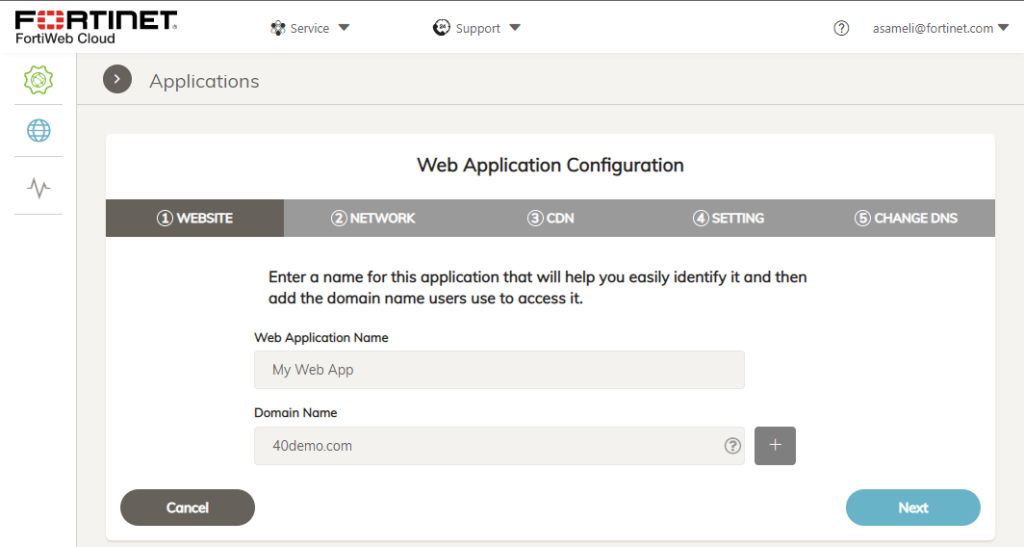
1. Enter Website Details
Give the Application a name and specify the domain name to protect.
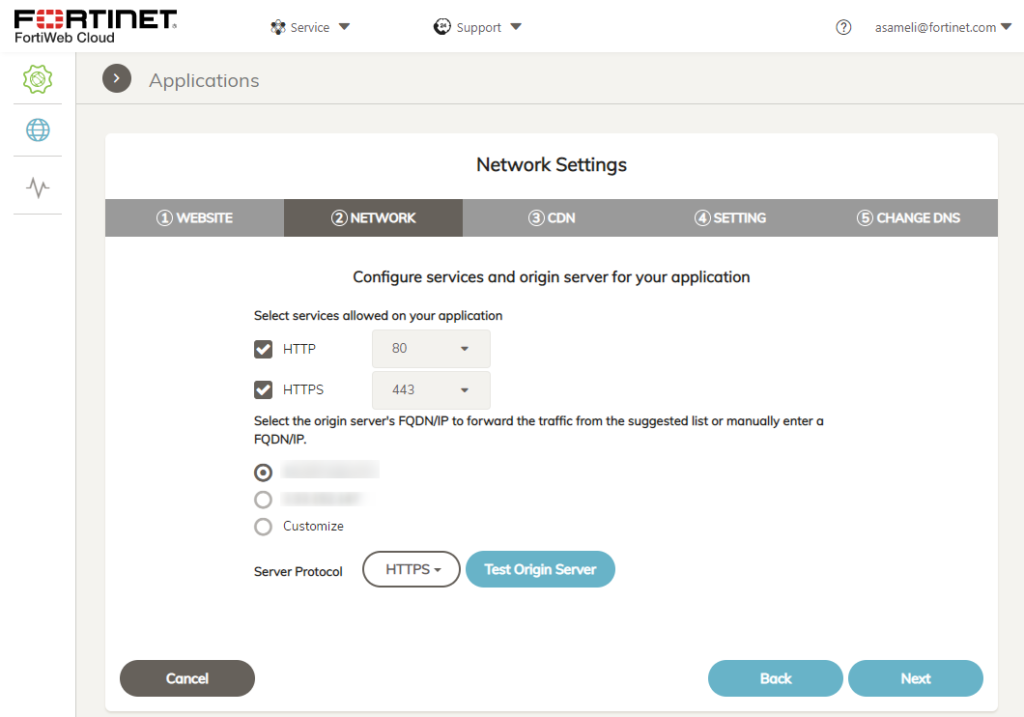
2. Network Details
Enter on which Ports the server is reachable and how the server is reachable by FortiWeb Cloud.
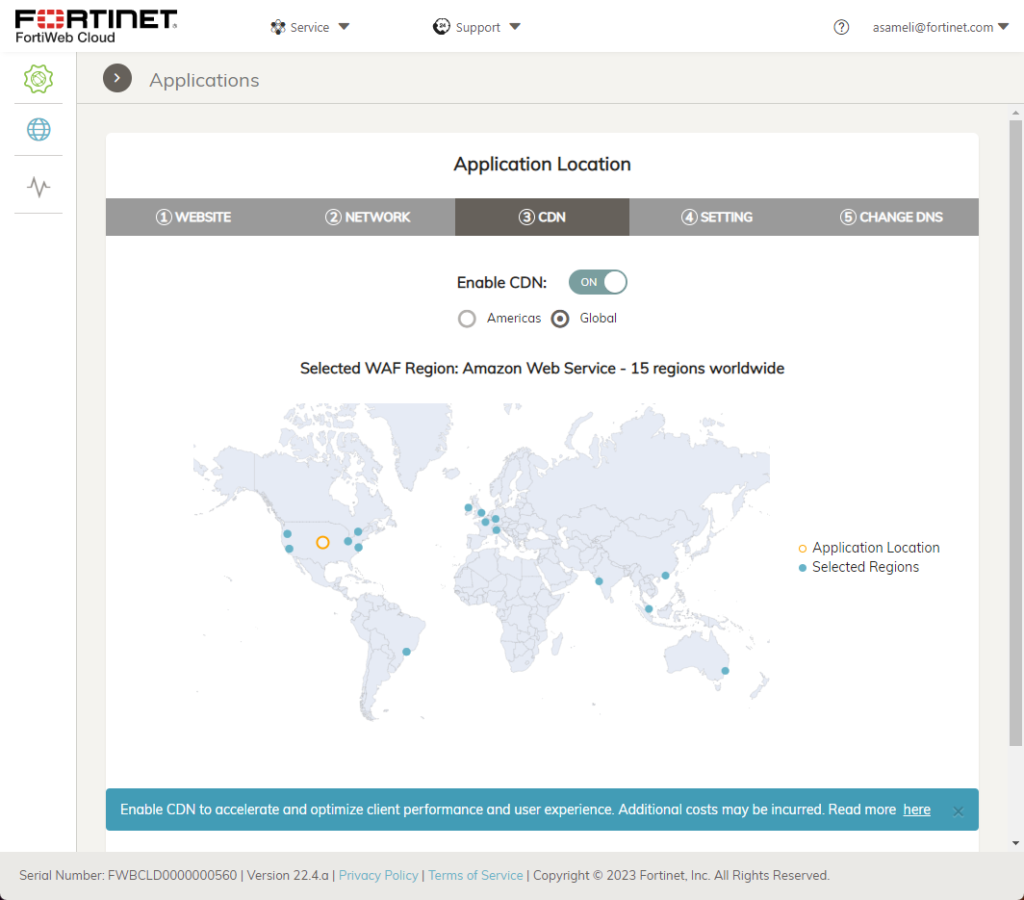
3. Content Delivery Network
If needed, the website can be published through Fortinets’ dedicated CDN. The setting allows to push it onto a CND within a region or globally.
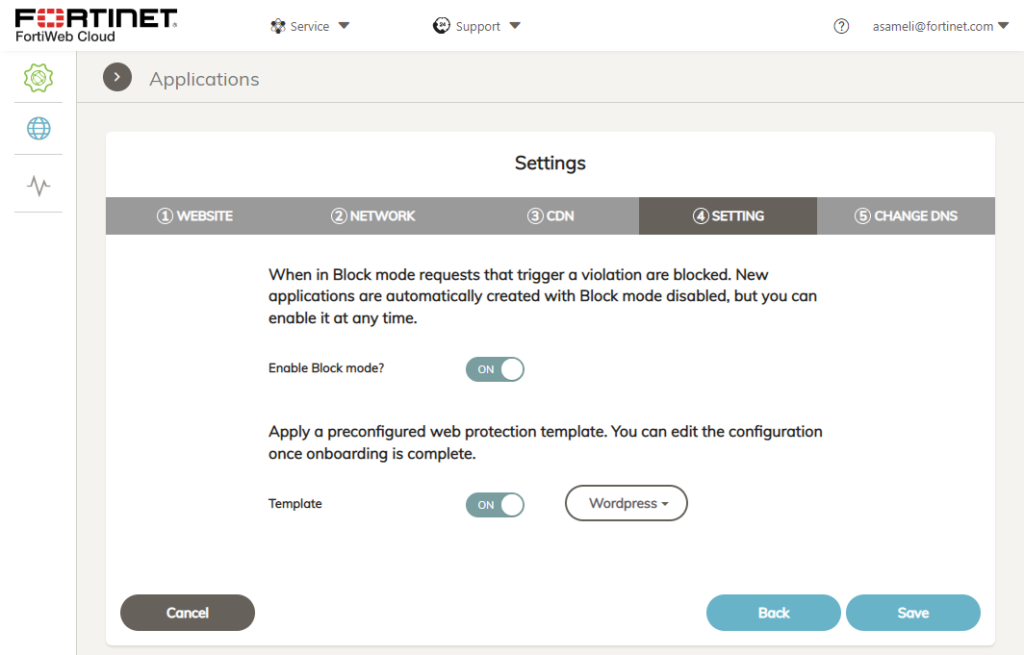
4. Mode settings
It it possible to choose if FortiWeb should block or just monitor website traffic. Aditionally, a protection template can be applied. The selection is:
- Drupal
- Exchange
- Extended Protection
- Share Point
- Standard Protection
- WordPress
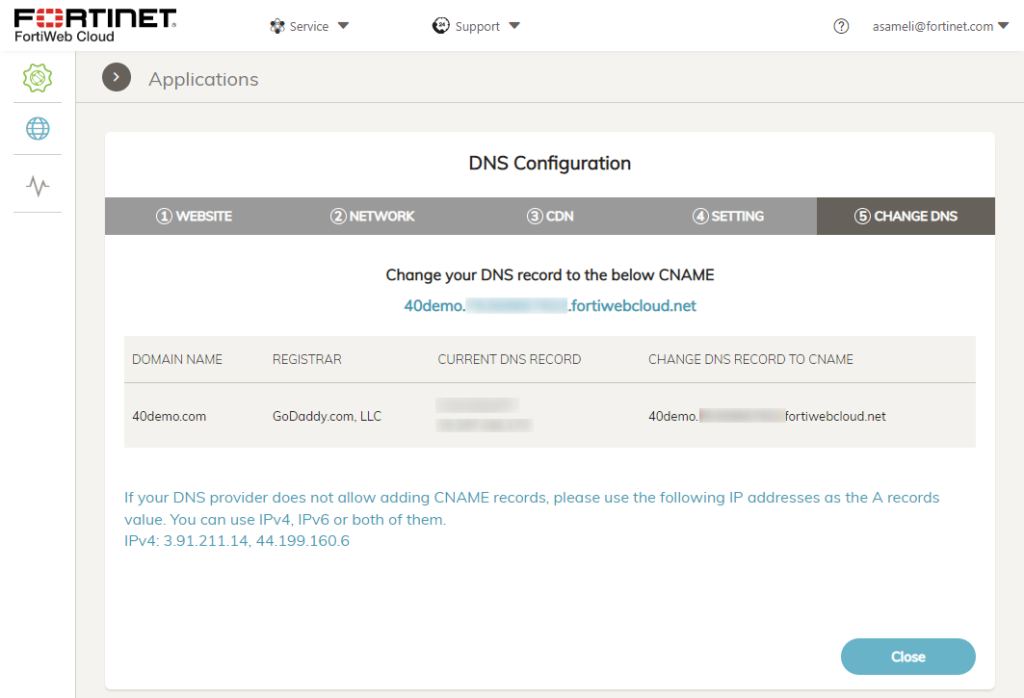
5. DNS Configuration
In order to put FortiWeb Cloud into traffic flow, DNS settings should be adjusted as shown on the screen.
6. (Optional) Protect Real Webserver
In order to prevent attackers to access the server directly through IP, it is highly recommended to prevent access to the server via non FortiWeb requests. The list of Servers which are accessing the real server can be found on the Dashboard of FortiWeb to configure ACL’s:


